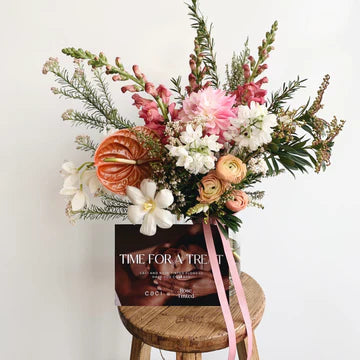
DIY Pressed Flowers
How to press your own flowers
So you've got a hankering to get crafty and press some flowers? Excellent. Not to worry, you don't need a fancy flower press, just some paper towels and some heavy books.
What I love doing is pressing flowers that are starting to wilt, so if you've got a bunch of flowers that are starting to turn, don't toss them out, give them new life as a pressed flower.
No flowers at home? No problem, take a look around the garden or next time you go for a walk, there are lots of flowers just ready for picking and pressing.
Read on friend...
what you’ll need:
Heavy books (ideally ones you don't want to read for a couple of weeks) and the bigger the book the better. If you've got lots of flowers, you can press lots between all the pages.
Paper towels or baking paper
step 1: gathering the goods
___
First, you’re going to want to go and find a bunch of different flowers. Some big, some small. As a general rule of thumb, smaller delicate flowers like daisies, pansies work well but get creative and try lots of different varieties. Got some slightly crispy hydrangeas in the garden (or over your neighbours fence), the little flowers from hydrangea heads look beautiful once they're pressed, like little floral snowflakes).
step 2: the drying process
___
Once you’re happy with your selection, trim the stems so they're no longer than the length / width of your book. If you want just the flower heads, snip the stems all off.
step 3: pressing
___
Onto the fun part…
Open your book, flip all the way to the back of the book. Then if you want to press lots of flowers, you can do. Then, lay a paper towel or baking paper on the right hand page, nestle it where the page of the book meets the spine and arrange your flowers on top.
Remember to space your flowers out on the page and make sure they don't sit too close to the edge. Do this until you've filled up your page.

Once you're happy with all the flowers, gently flatten any curly petals or leaves with your fingertips and place another paper towel or sheet of baking paper over top. Then turn the page (the one on the left) so it lies flat on the flowers.

Then repeat the process and press as many flowers as you like!

Once you're finished close the book and store it somewhere you're not going to forget about it. Stack another 2-3 heavy books on top so the flowers are extra flat. Check in on the flowers every couples of days, some flowers will dry faster than others. Remember to handle the book gently when you're checking your flowers, you don't want any of them falling out.
Once you've got a selection of pressed flowers, you can frame them, make them into cards (a great idea for birthdays, Mothers Day etc...you're welcome...). My grandma used to make pressed flower cards so there was never a birthday that I didn't receive one (aww bless).
Happy pressing flower fam x


Leave a comment